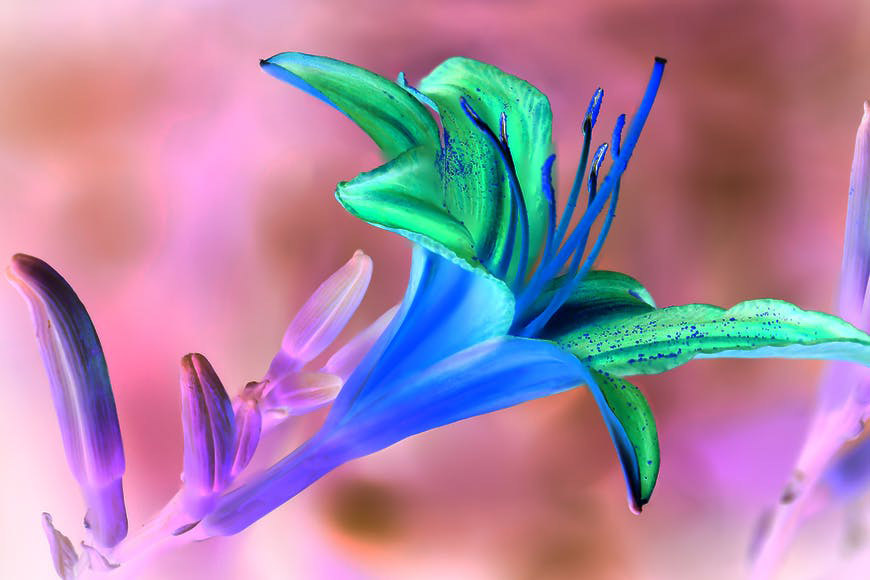
If you want to learn how to invert colors on a picture, you’ll find many ways to do it here.
In this article, I’ll show you how to do it on phones and computers, whether you have a photo app or not.
I’ll also show you different techniques depending on whether you want to invert a single image or the entire display.
However, before we get on to that, I’ll tell you what color inversion is and why it can be useful. I’ll also show you some examples to clarify things and get your creativity going.
You don’t have to worry. Some apps and devices have a dedicated option – and even if you want more control, it’s a matter of a few simple steps.
So, let’s get started.
What Is Color Inversion?
If you’ve ever heard of color theory, you probably know that every color has a complementary color that’s opposite to it on the color wheel.
In an inverted photo, you’ll see all the complementary colors in place of the ones you would see in the original.
True image inversion comes from film photography, a technology that allows you to shoot a negative image and print a positive one.
If you see the negative of a black-and-white photo, you’ll notice that the brightest areas look dark, and the darker ones look bright.
The same thing happens with the negative film of a color photograph – all the colors will look reversed.
Color Inversion Examples
Credit: No machine-readable author provided. Rjt assumed (based on copyright claims), CC BY-SA 3.0, via Wikimedia Commons
The image marked as A is a positive color photograph. You can see the inverted colors on its negative version marked as B.
You can see the negative effect on a black-and-white picture as it happens on film negatives in images C and D.
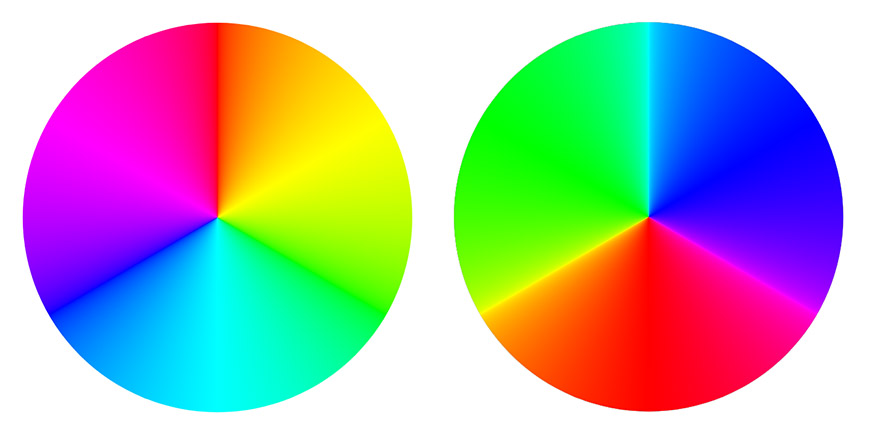
Credit: 8-leaf clover, CC0, via Wikimedia Commons.
In this example, I downloaded a Linear RGB color wheel, which you can see on the left side. Then, I used the Invert feature in Photoshop for the one on the right.
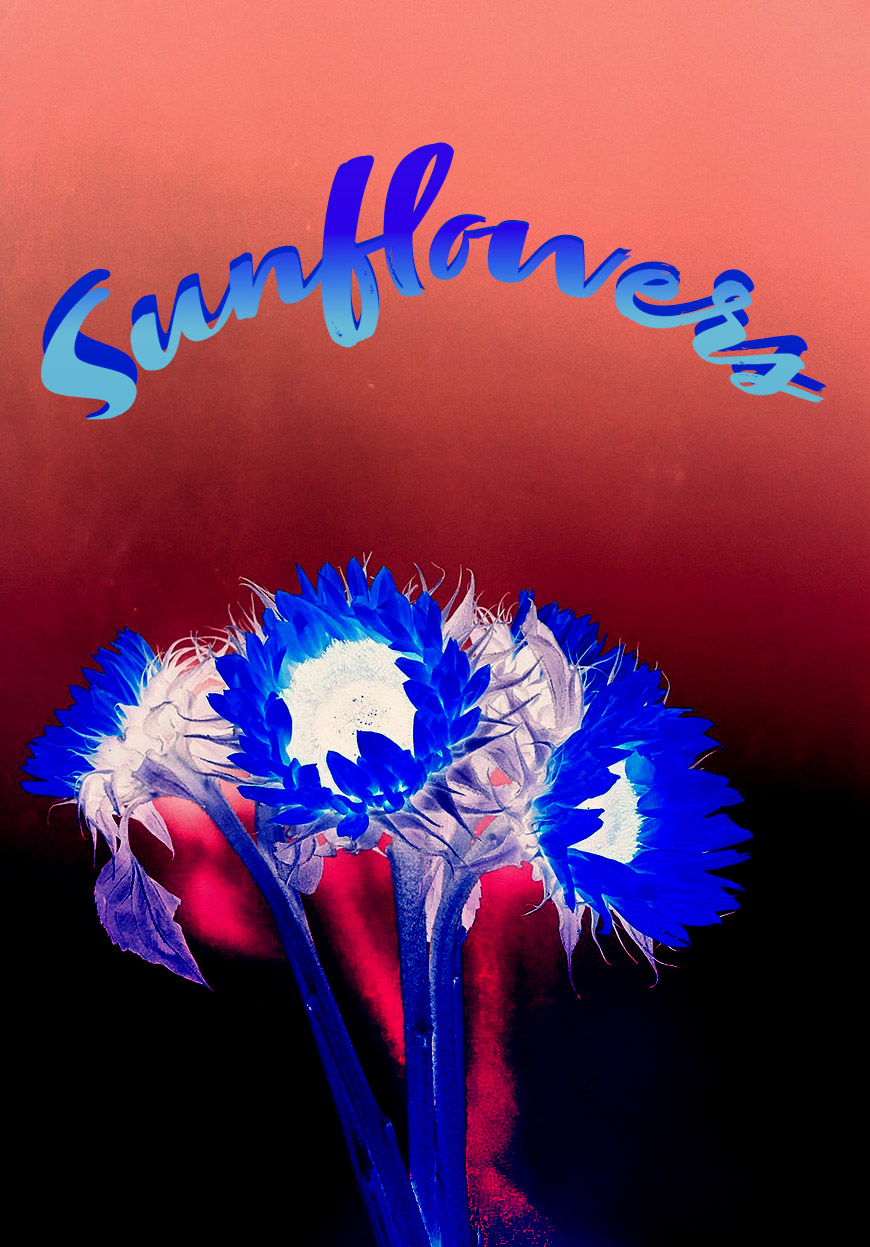
This is an example of how you can use the effect in a creative way. As an artistic expression, color inversion can be used in graphics and other media.
Why Would You Want to Invert Colors?
You can use the invert-photo technique for many artistic effects.
However, it also has some practical uses. One of them is to create a digital negative to make direct prints.
Another reason to do this is not necessarily related to photography – it’s to help people with visual impairments.
This is why you’ll find features like Invert Image or Invert Colors in most devices, from phones to computers. This feature is under the Accessibility menu.
How to Invert Colors on a Picture With a Smartphone
Most smartphones have an accessibility feature to invert colors. This is commonly used for text, but you can also use it to see inverted photos.
However, if you want more control, you can use editing tools from third-party photography apps.
In this section, I’ll show you both methods.
How to Invert the Colors of a Picture on an iPhone
There is a way to do color inversion on your iPhone without using any third-party apps.
- Start by opening the Settings on your iPhone.
- Next, tap on Accessibility.
- Then, tap on Display and Text Size.
- Scroll until you find the Classic Invert option and turn it on.
- Now, you can go to the Photos app. You’ll be able to see all your photos with the colors inverted.
Remember that this feature inverts the colors of the display on your iPhone. So, everything is affected – not just the photos.
To see the original colors, return to the settings and turn off the Classic Invert.
How to Invert the Colors of a Picture on Android
Android phones let you invert colors without downloading third-party apps. Here’s how to do it.
- Open the Settings panel.
- Tap on Search Settings and type Color Inversion or Invert – the name may change depending on the Android version you have.
- Tap on the option that comes up from the search.
- Enable Use Color Inversion.
- Now, all the colors in your photos will be inverted. However, so will the rest of the apps, the Home screen, etc.
To go back to the original colors follow the same steps and disable the Use Color Inversion feature.
What Is the Best App to Invert Colors in a Picture?
You can use many photo editing apps to invert photo colors. Here are some of the best options.
Snapseed – This photo editing app is free for Android and iPhone. Simply open your photo and tap on Tools, then tap on Curves. Then, invert the direction of the diagonal line by dragging the point on the bottom left to the top and the one on the top right to the bottom.
Lightroom app (AKA Lightroom Mobile or LR CC) – This Adobe app has a limited free version that’s enough to invert photos if you don’t have any paid memberships. It’s available for iPhone and Android. To reverse photos, tap the edit button. Then, tap on Light > Curve. Now, drag the top right point all the way down and the bottom left point up – inverting the diagonal line.
PhotoDirector – This app is available for iOS and Android. You can do a simple picture reversal effect using the Invert feature. If you prefer inverting colors manually, you can use the Curves tool.
How to Invert Colors on a Picture Online

Pinetools website
There are many websites you can use to invert colors for free. One that’s very easy to use is Pinetools. Simply upload the photo you want.
Then, click Invert. You’ll immediately get an inverted image for you to download as JPG, PNG, or WEBP.
Other options are photoaid.com, imageonline.co, and gifgit.com.
How to Invert Colors on a Picture in Photoshop
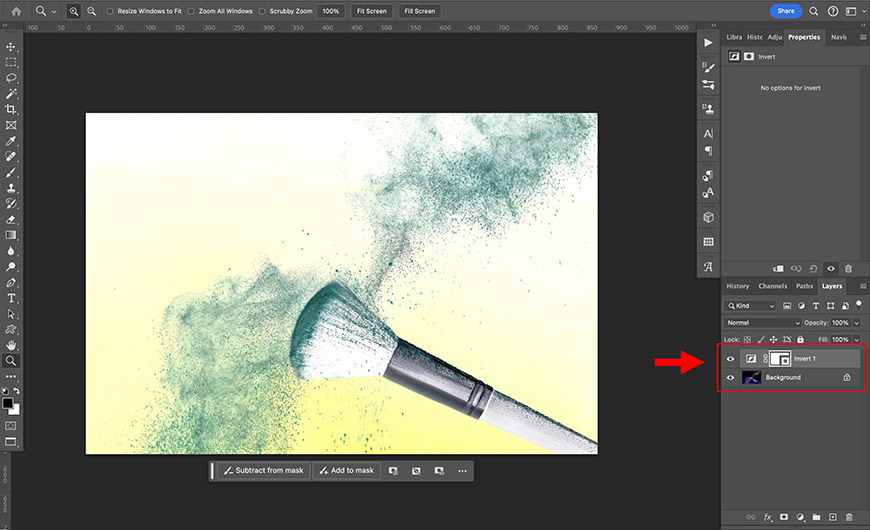
Shotkit has a wonderful article that shows two methods to invert photo colors using Photoshop.
I’ll write here a quick guide for you. However, if you’re interested in the full article, go here: How to Invert Colors in Photoshop.
First, open your image in Adobe Photoshop. Then, go to the menu Layer > New Adjustment Layer > Invert.
This is how easy it is to invert images in Photoshop. Since this is an Adjustment Layer, the inverted colors are separate from your original picture – so it’s non-destructive.
If you want to make the change permanent, go to Layer > Flatten Image.
If you want to invert part of the image only (e.g., the subject), check the guide I linked to above for steps.
How To Invert Colors in a Picture On a Computer (Without Photoshop)
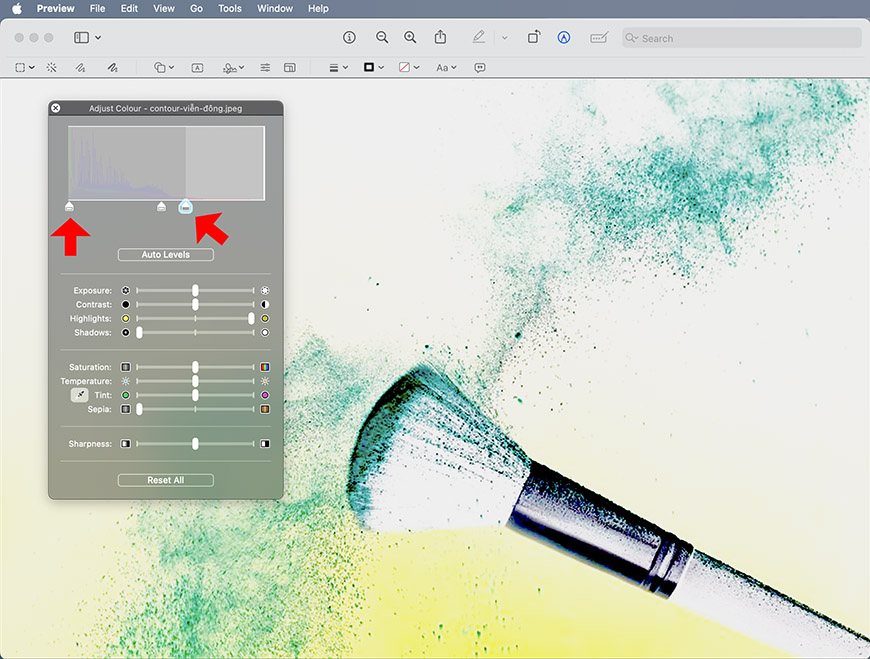
If you don’t have Adobe Photoshop or another photo editor on your Mac computer, you can invert photo colors using Preview.
The Preview app comes installed by default on Mac computers. Double-click on an image file in the Finder will automatically launch Preview to show you the image.
Many people don’t know that you can also make minor edits in Preview – inverting colors is one of them.
Once you’ve opened the photo, go to the menu Tools > Adjust Color. This will open a dialog box.
At the top, you’ll see a histogram with three tabs underneath. To invert images, you simply need to grab the tab on the right and pull it to the left. Then, grab the left tab and drag it to the right.
Now, you’ll have an inverted photo. You can decide on the intensity of the effect depending on how far to the edges of the histogram you drag the tabs.
If you want to invert everything, click on the Apple icon on the upper left of the screen to open the menu. Then, go to System Settings > Accessibility > Color Invert.
How to Invert the Color of an Image on Windows 11/10
To invert the colors of a Windows PC, go to the Start menu. Then, go to Settings > Accessibility > Color Filters.
Now, choose the Invert filter and turn on the switch on the right to enable this feature.
Suppose you only want to invert photos without installing Photoshop or any other photo app. In that case, you can use Paint – this is completely free, and it’s usually already installed on your computer.
To do so, just click on Select. Then, right-click on top of the photo and choose Invert Color from the menu.
FAQ
How do you invert the colors of a screenshot?
If you already took the screenshot, you can use the editing options in Photoshop or any other photo app – usually, the Tone Curve is the one you need.
Otherwise, you can go to the Accessibility menu of your device and turn on the Invert Colors option. Then, take the screenshot already inverted.
Why are inverted colors considered an accessibility feature?
Inverted colors help people with certain types of color blindness distinguish shades of color that they wouldn’t see otherwise.
What is negative photo effect?
The negative photo effect is another way of referring to the inverted colors effect. The name comes from the days of film photography.
Film negatives are the opposite of what we see in a positive print. So, dark areas look light and lighter areas look dark; red colors look cyan, etc. Inverted pictures in digital displays have the same effect.
Credit : Source Post


